
Retrofit Rifle EnerPHit: we didn't knock it down, we made it a Passive House
I grew up in Williamstown, and as a kid I used to ride my bike around the old rifle range and find spent shells in the dirt. In the early nineties that land became a housing estate, built mostly by volume builders at a time when energy efficiency barely rated a mention. Thirty years later, one of those houses landed on our desk.
It was a 1993 single storey brick veneer home and a deceased estate that had sat empty for over a year. You could smell the problem the moment you opened the front door, and when we pulled the plaster off, there was black mould hiding behind walls that looked perfectly fine from the inside. It was so leaky that when we ran a blower door test on day one, the machine couldn't even get a reading. Our best estimate was somewhere north of 30 air changes an hour.
The new owners, a young family, already knew what a Passive House was. So we set ourselves a challenge that, as far as we knew, nobody in Australia had pulled off: could we turn an ordinary volume built house into a certified Passive House without taking off a single brick or roof tile? If we could do it here, it could be done on the millions of homes just like it.







Why we didn't just start again
Most Australian homes were built before energy efficiency rules existed, and millions of them sit well below today's minimum standard. Knocking them all down isn't realistic, and it sends perfectly good bricks, roof tiles and timber to landfill. The most sustainable house is the one you don't build, and the second most sustainable is the one already standing.
The bricks and roof tiles on this house were in great condition, so the plan was simple to say and hard to do. We would treat it as an interior fit out, strip everything back to the frame from the inside, and rebuild the house's performance from the inside out. The only thing that changed on the outside was the windows.
What we found behind the plaster
Opening up the walls told the story of how this house was built. Black mould had been growing behind the plaster around the wet areas and down the hallway, painted over and invisible from the inside. The old glasswool insulation was black with dust, which is what happens when a house leaks air through its walls and the insulation becomes the filter. Almost all of the internal bracing had been cut through by trades over the years, so we replaced it with proper cross bracing and left the house stronger than the day it was built.
The old wiring wasn't compliant and the copper plumbing was rusting and leaking, so we rewired and replumbed the lot. In effect we started this job where most new builds sit once the frame, roof and cladding are up, and every plaster offcut that came out was sent off to be recycled.
Making an old house airtight from the inside
On a new build we wrap the outside of the frame in a membrane that keeps water out and lets the walls breathe. Here we couldn't, because the bricks were staying. That meant the airtight layer had to come from the inside, using an intelligent Pro Clima Intello membrane fitted around a frame that was never designed for it.
The tricky spots were the corners and the tops of the walls, where steel brackets tie the roof trusses down. At the corners, the team cut the old framing back and rebuilt it with room for snug fitting XPS insulation. On the top plates, they glued and screwed strips of plywood all the way around so the membrane had something solid to seal to. That little detail worked so well that it is now standard on every home we build.
The first blower door test after all that work came in around 0.55. After a leak hunt with the team, the final result was 0.43 air changes an hour, from a house that started somewhere north of 30. It was one of the proudest moments I've had on a building site.
Water first, then air
Water kills buildings, and the biggest risk on any retrofit is trapping moisture in a wall that used to be able to dry out. Without a membrane behind the bricks, every decision had to start with where the water would go.
Cameron Munro from Passive Analytics ran a WUFI analysis, a computer model of how moisture moves through a wall over many years. It showed that leaving the old foil wall wrap in place behind the new insulation would grow mould, so we pulled out as much of it as we could reach. We chose polyester insulation over glasswool because it is dense, holds its shape and doesn't soak up water. Cameron also spotted that the wet cork mix going down on the floor could wick moisture into the bottom of the timber frame, so we painted the base of every wall plate with bitumen first. That is the kind of catch that only comes from having a building scientist on the team from day one.
The weather gave us a test of its own. Not long after the strip out, it bucketed down for three days straight, and not a single drop came through those thirty year old roof tiles.
The windows that nearly cost us certification
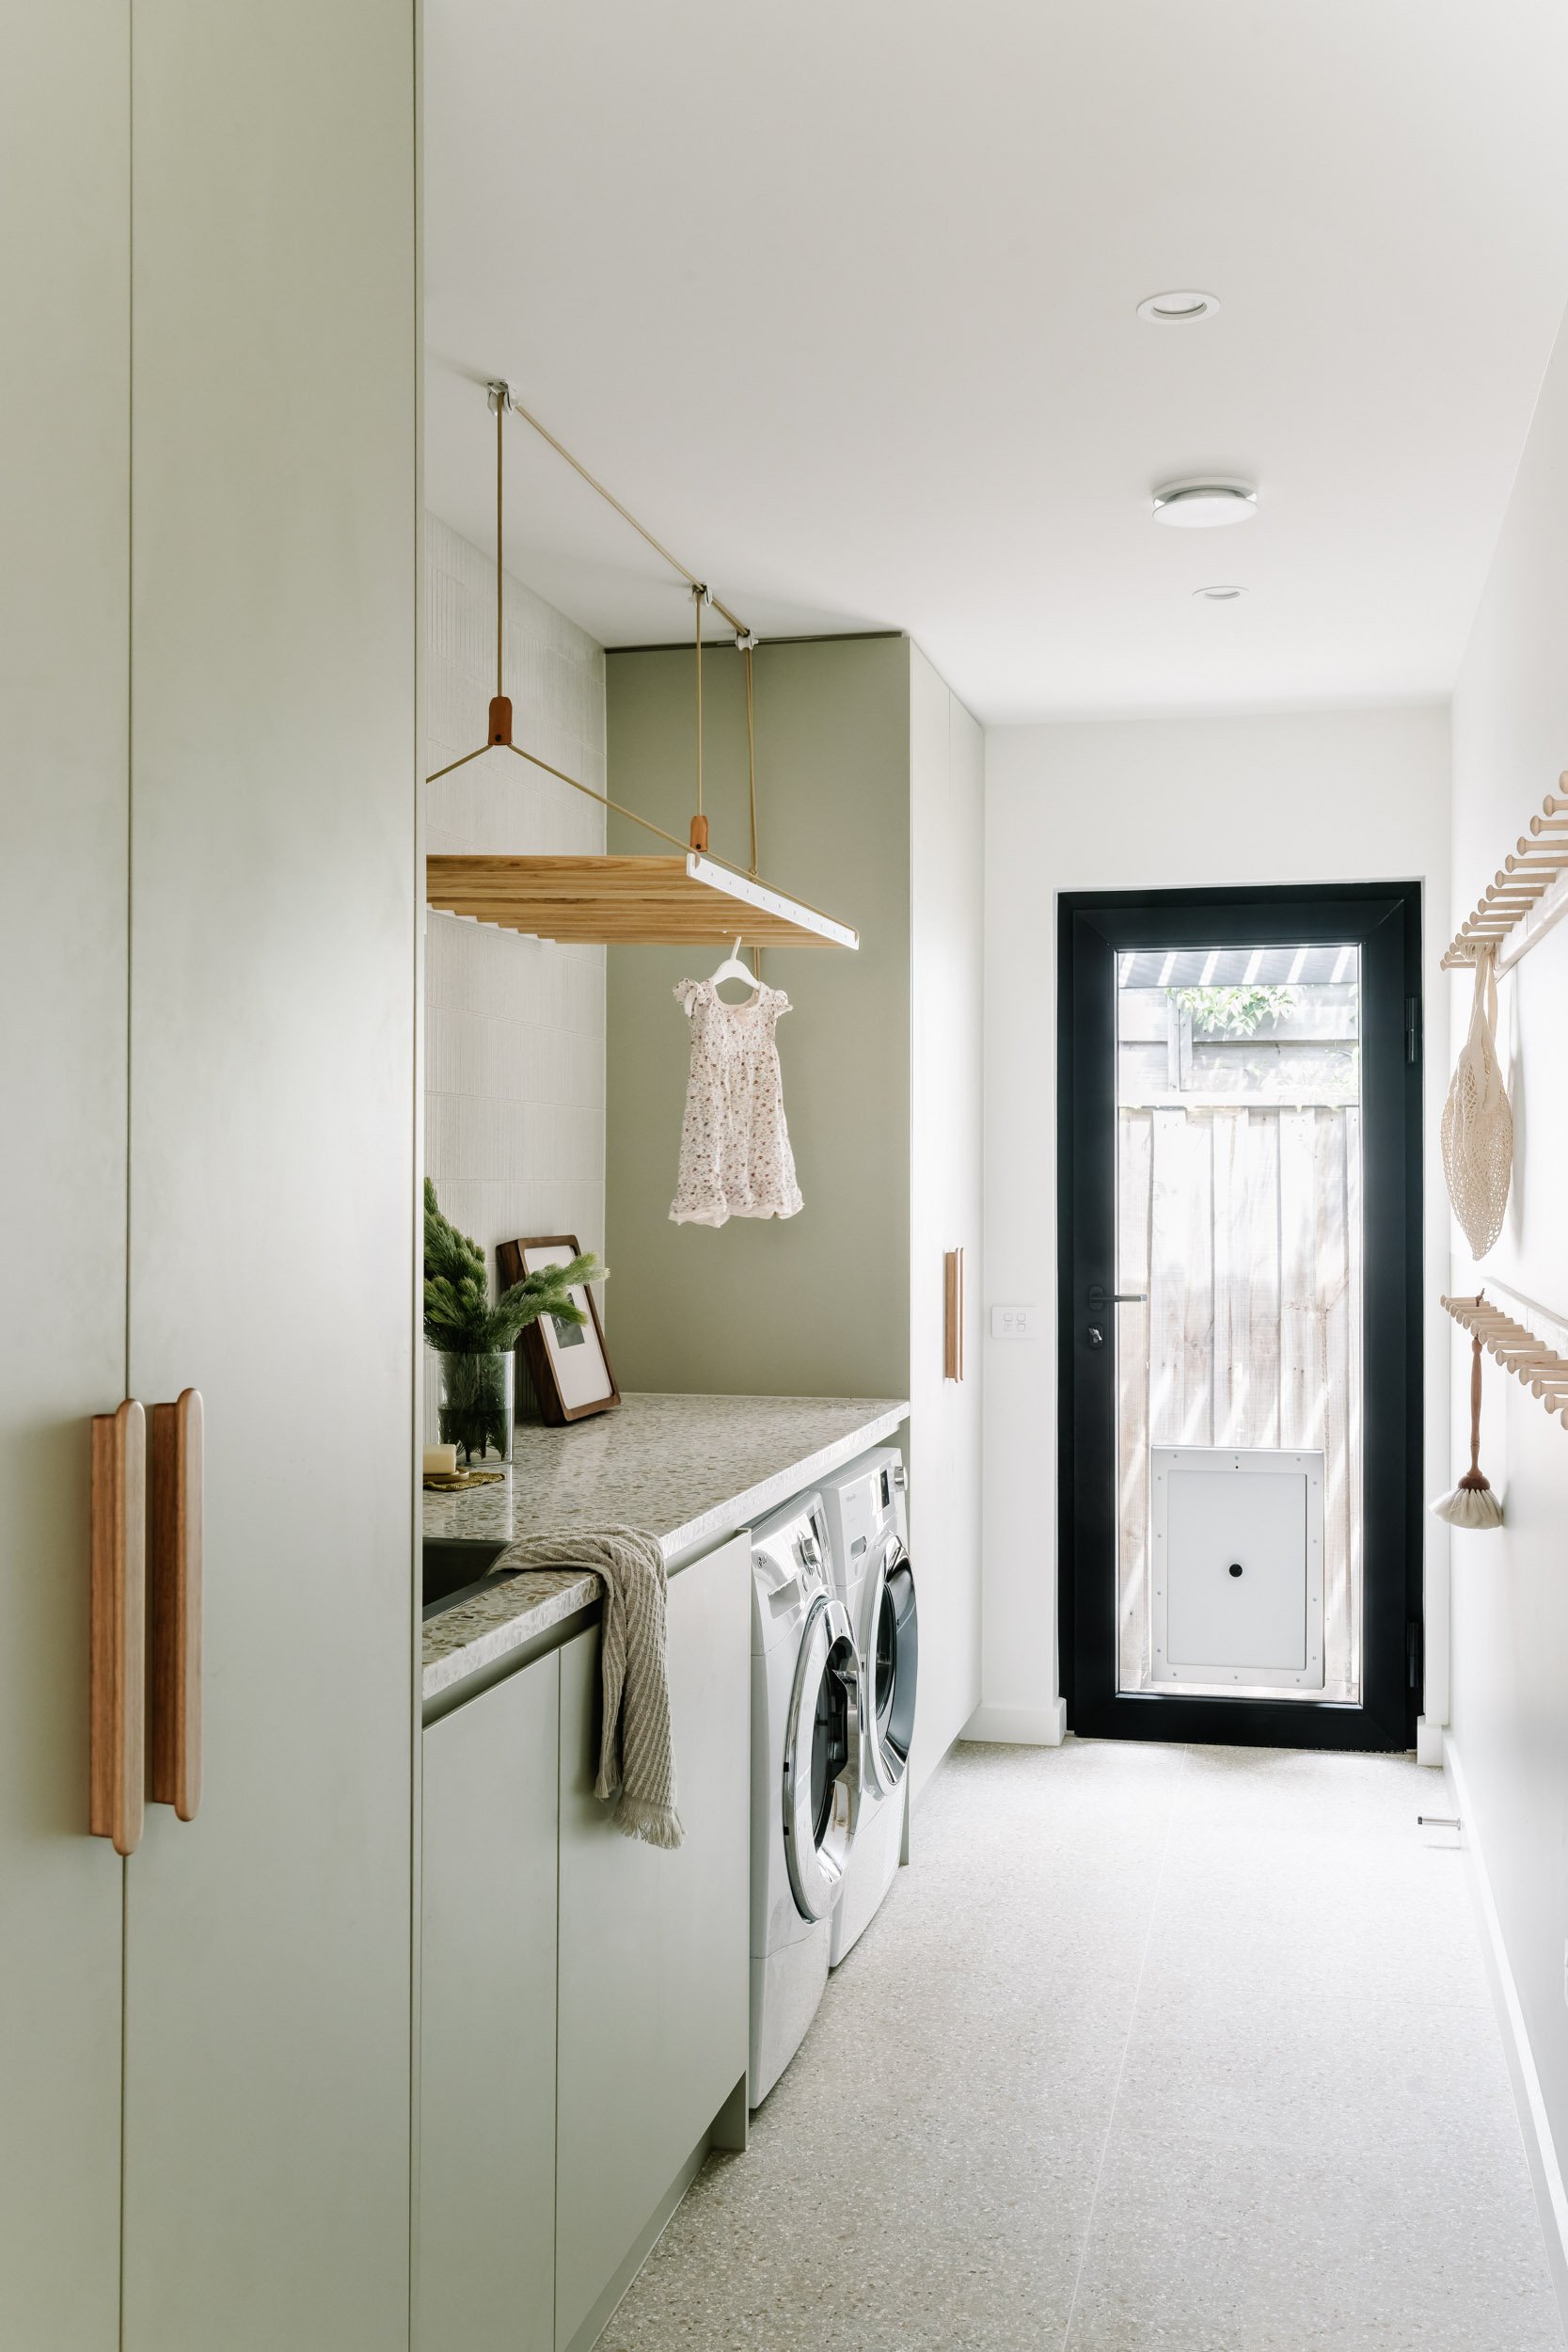
In a typical brick veneer house the windows sit out in line with the bricks, outside the insulation. For a Passive House they need to sit within the insulated wall, so every window had to move back into the house and still shed water out onto the face of the brickwork, without a membrane to drain into. The team spent around 40 hours designing a sill system with an XPS insulated back dam to make that work.
Then there was the slab, which turned out to be 110 mm out of level across about ten metres of house. With openings that were out of square and out of level, every window was measured, checked by the supplier and remodelled by Cameron something like twenty times before we ordered the triple glazed uPVC windows from Binq.
Under the EnerPHit rules, the windows had to average an installed U value of 1.25 or better across the whole house, and we were hovering right on the line. Then a late request for a doggy door meant one door needed a harder low E coating that performed worse, which tipped us over. We clawed it back by filling the cavity of the timber front door with 50 mm of PIR insulation from Thermaluxe, and landed on 1.25 exactly.
The floor that nearly broke us
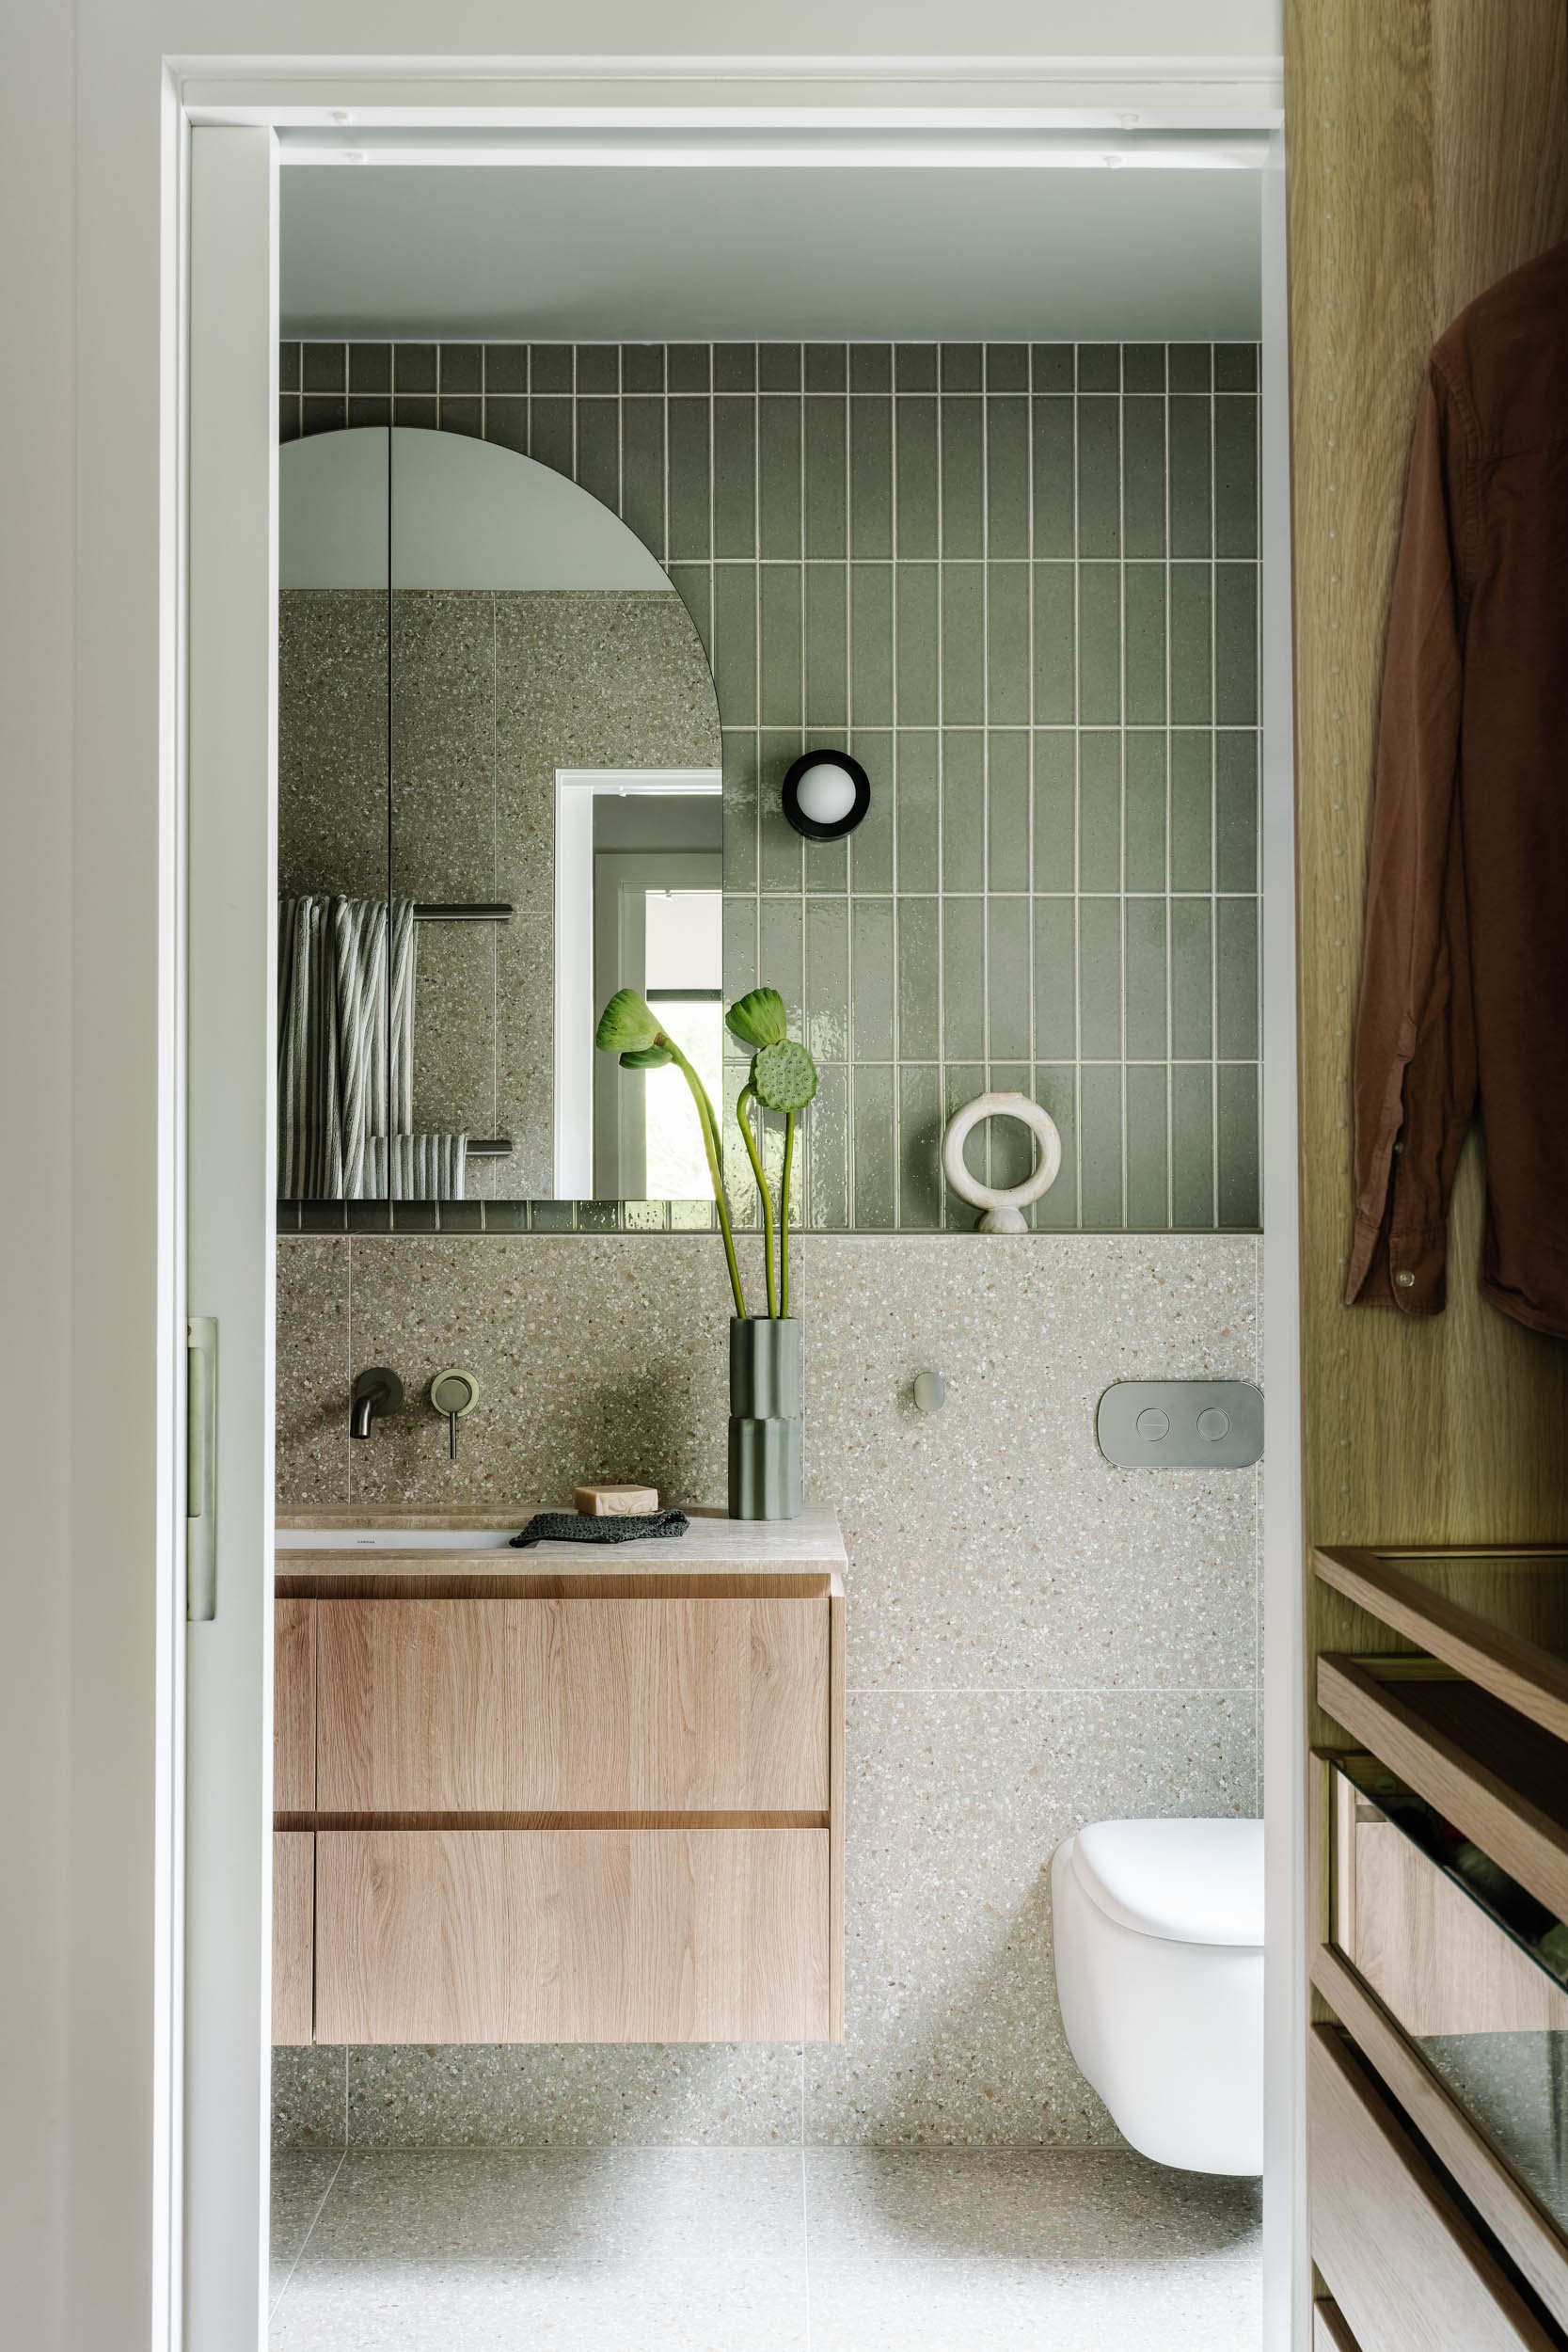
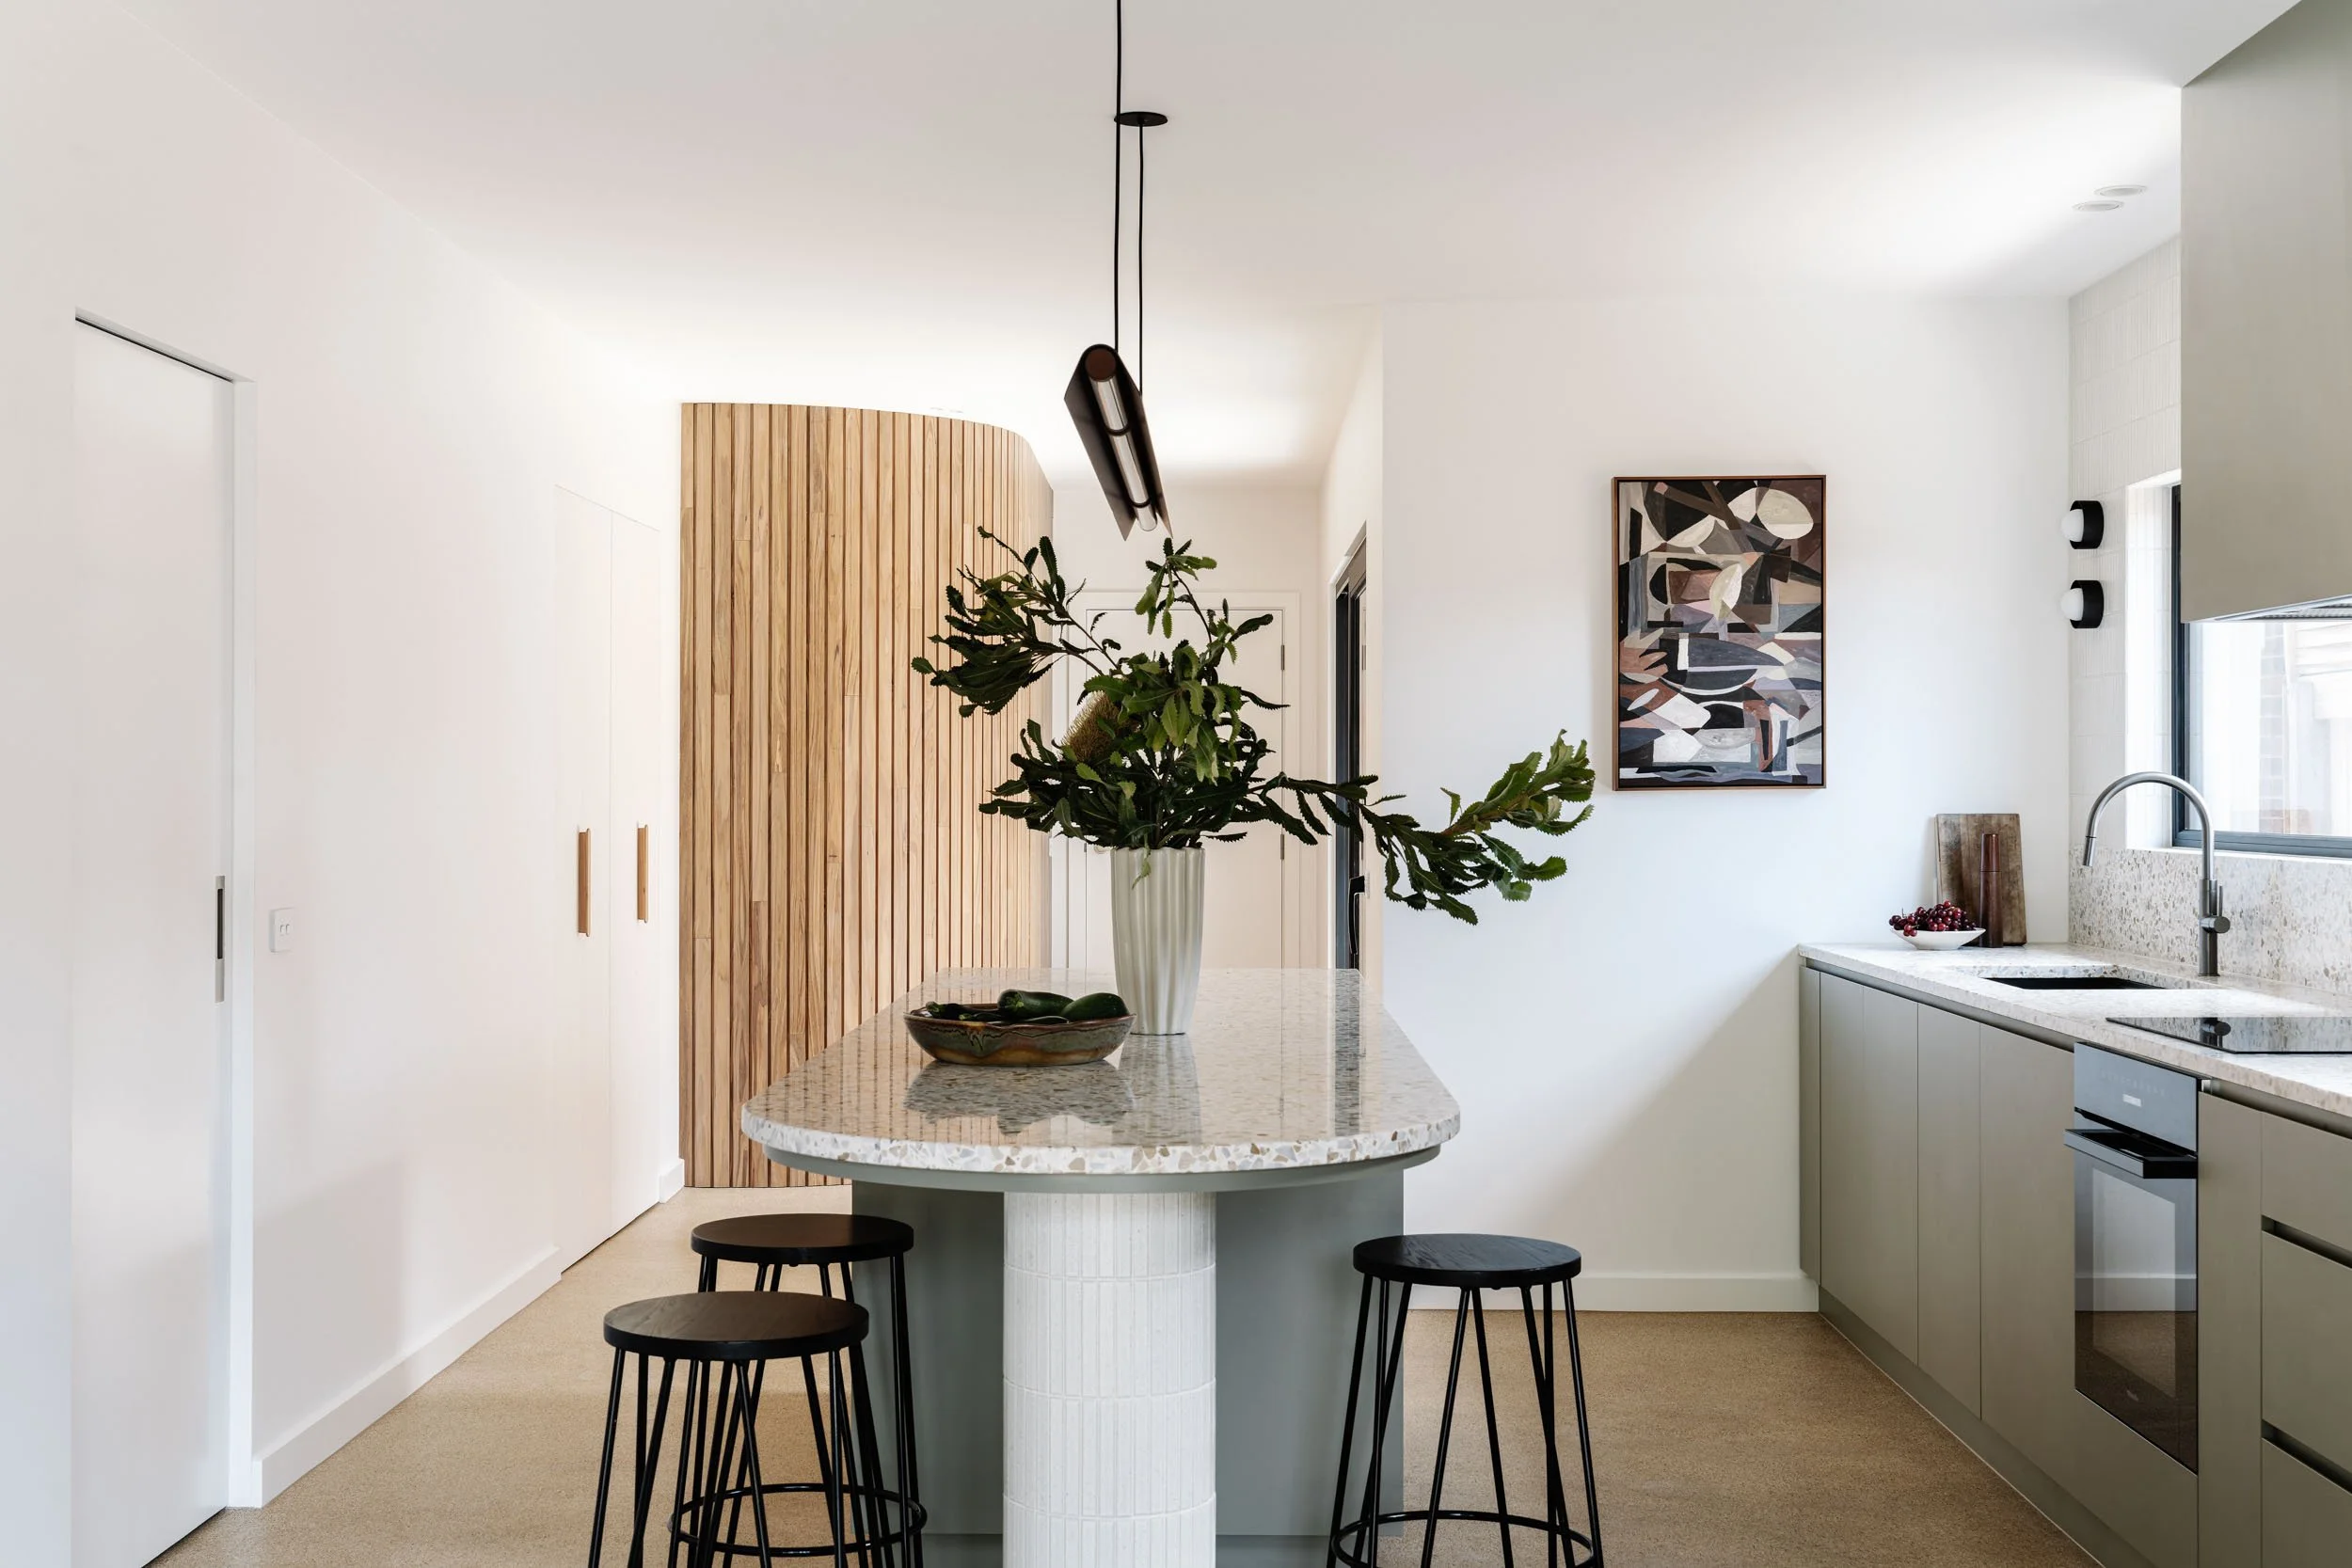
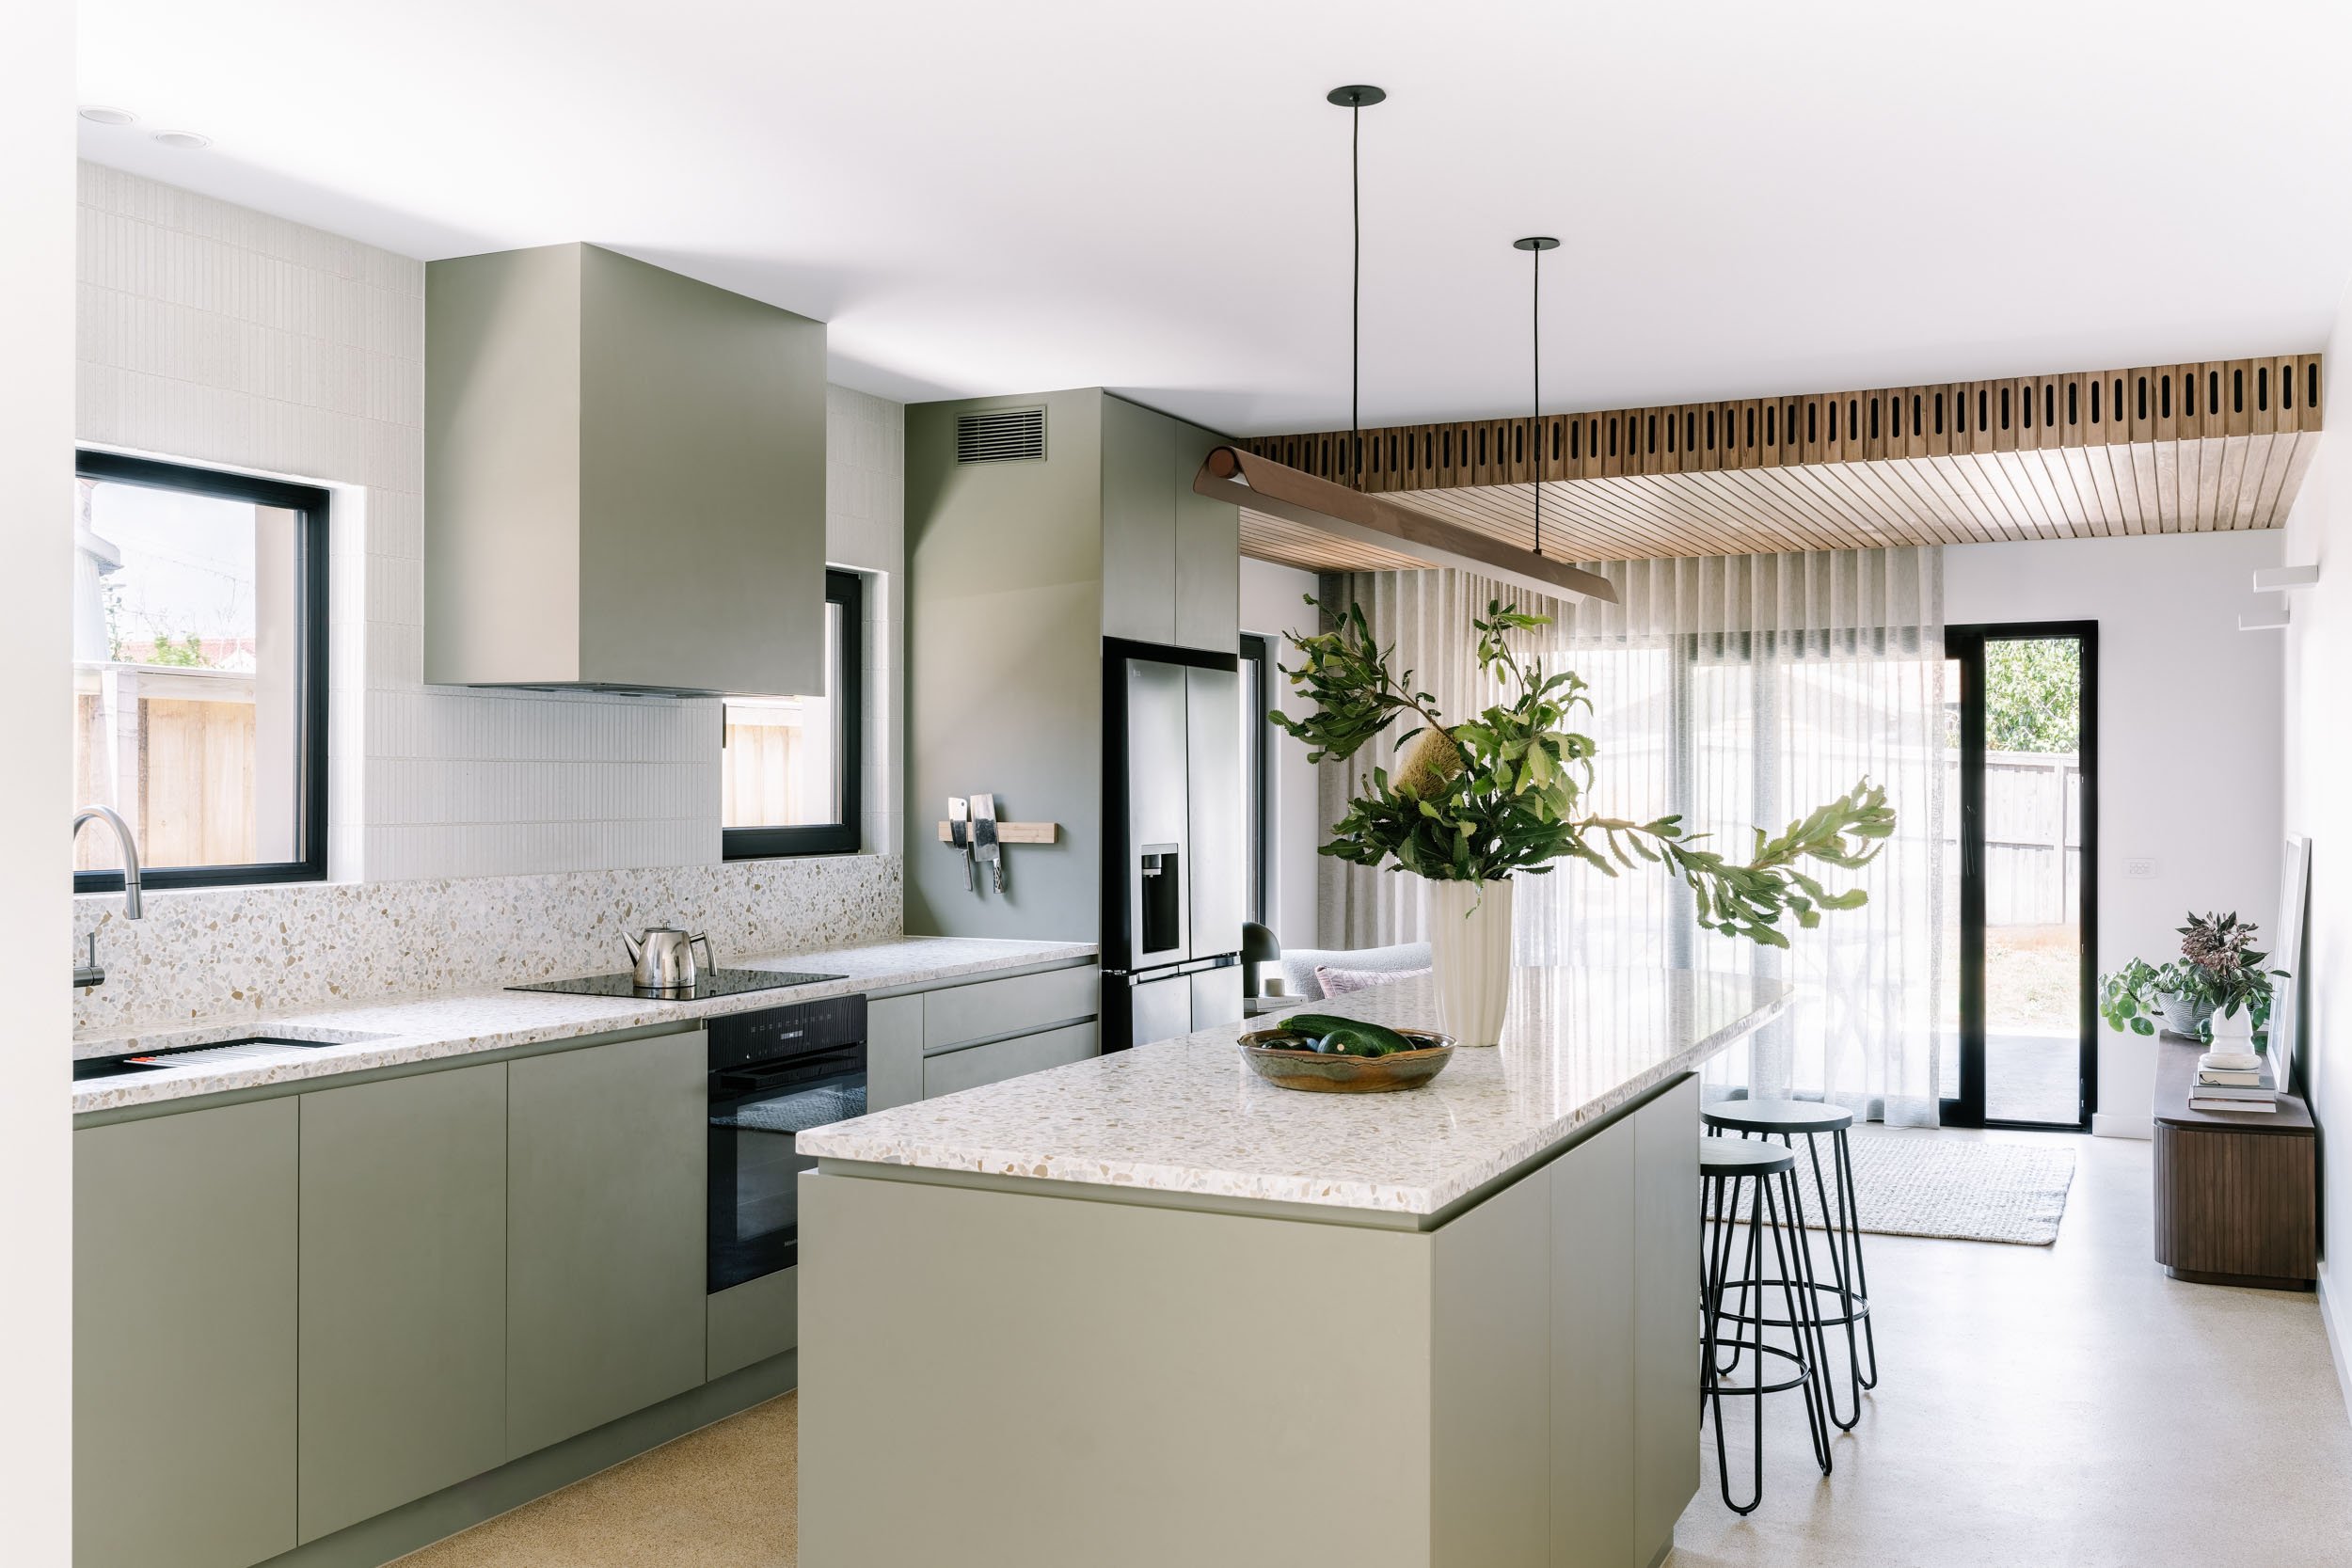
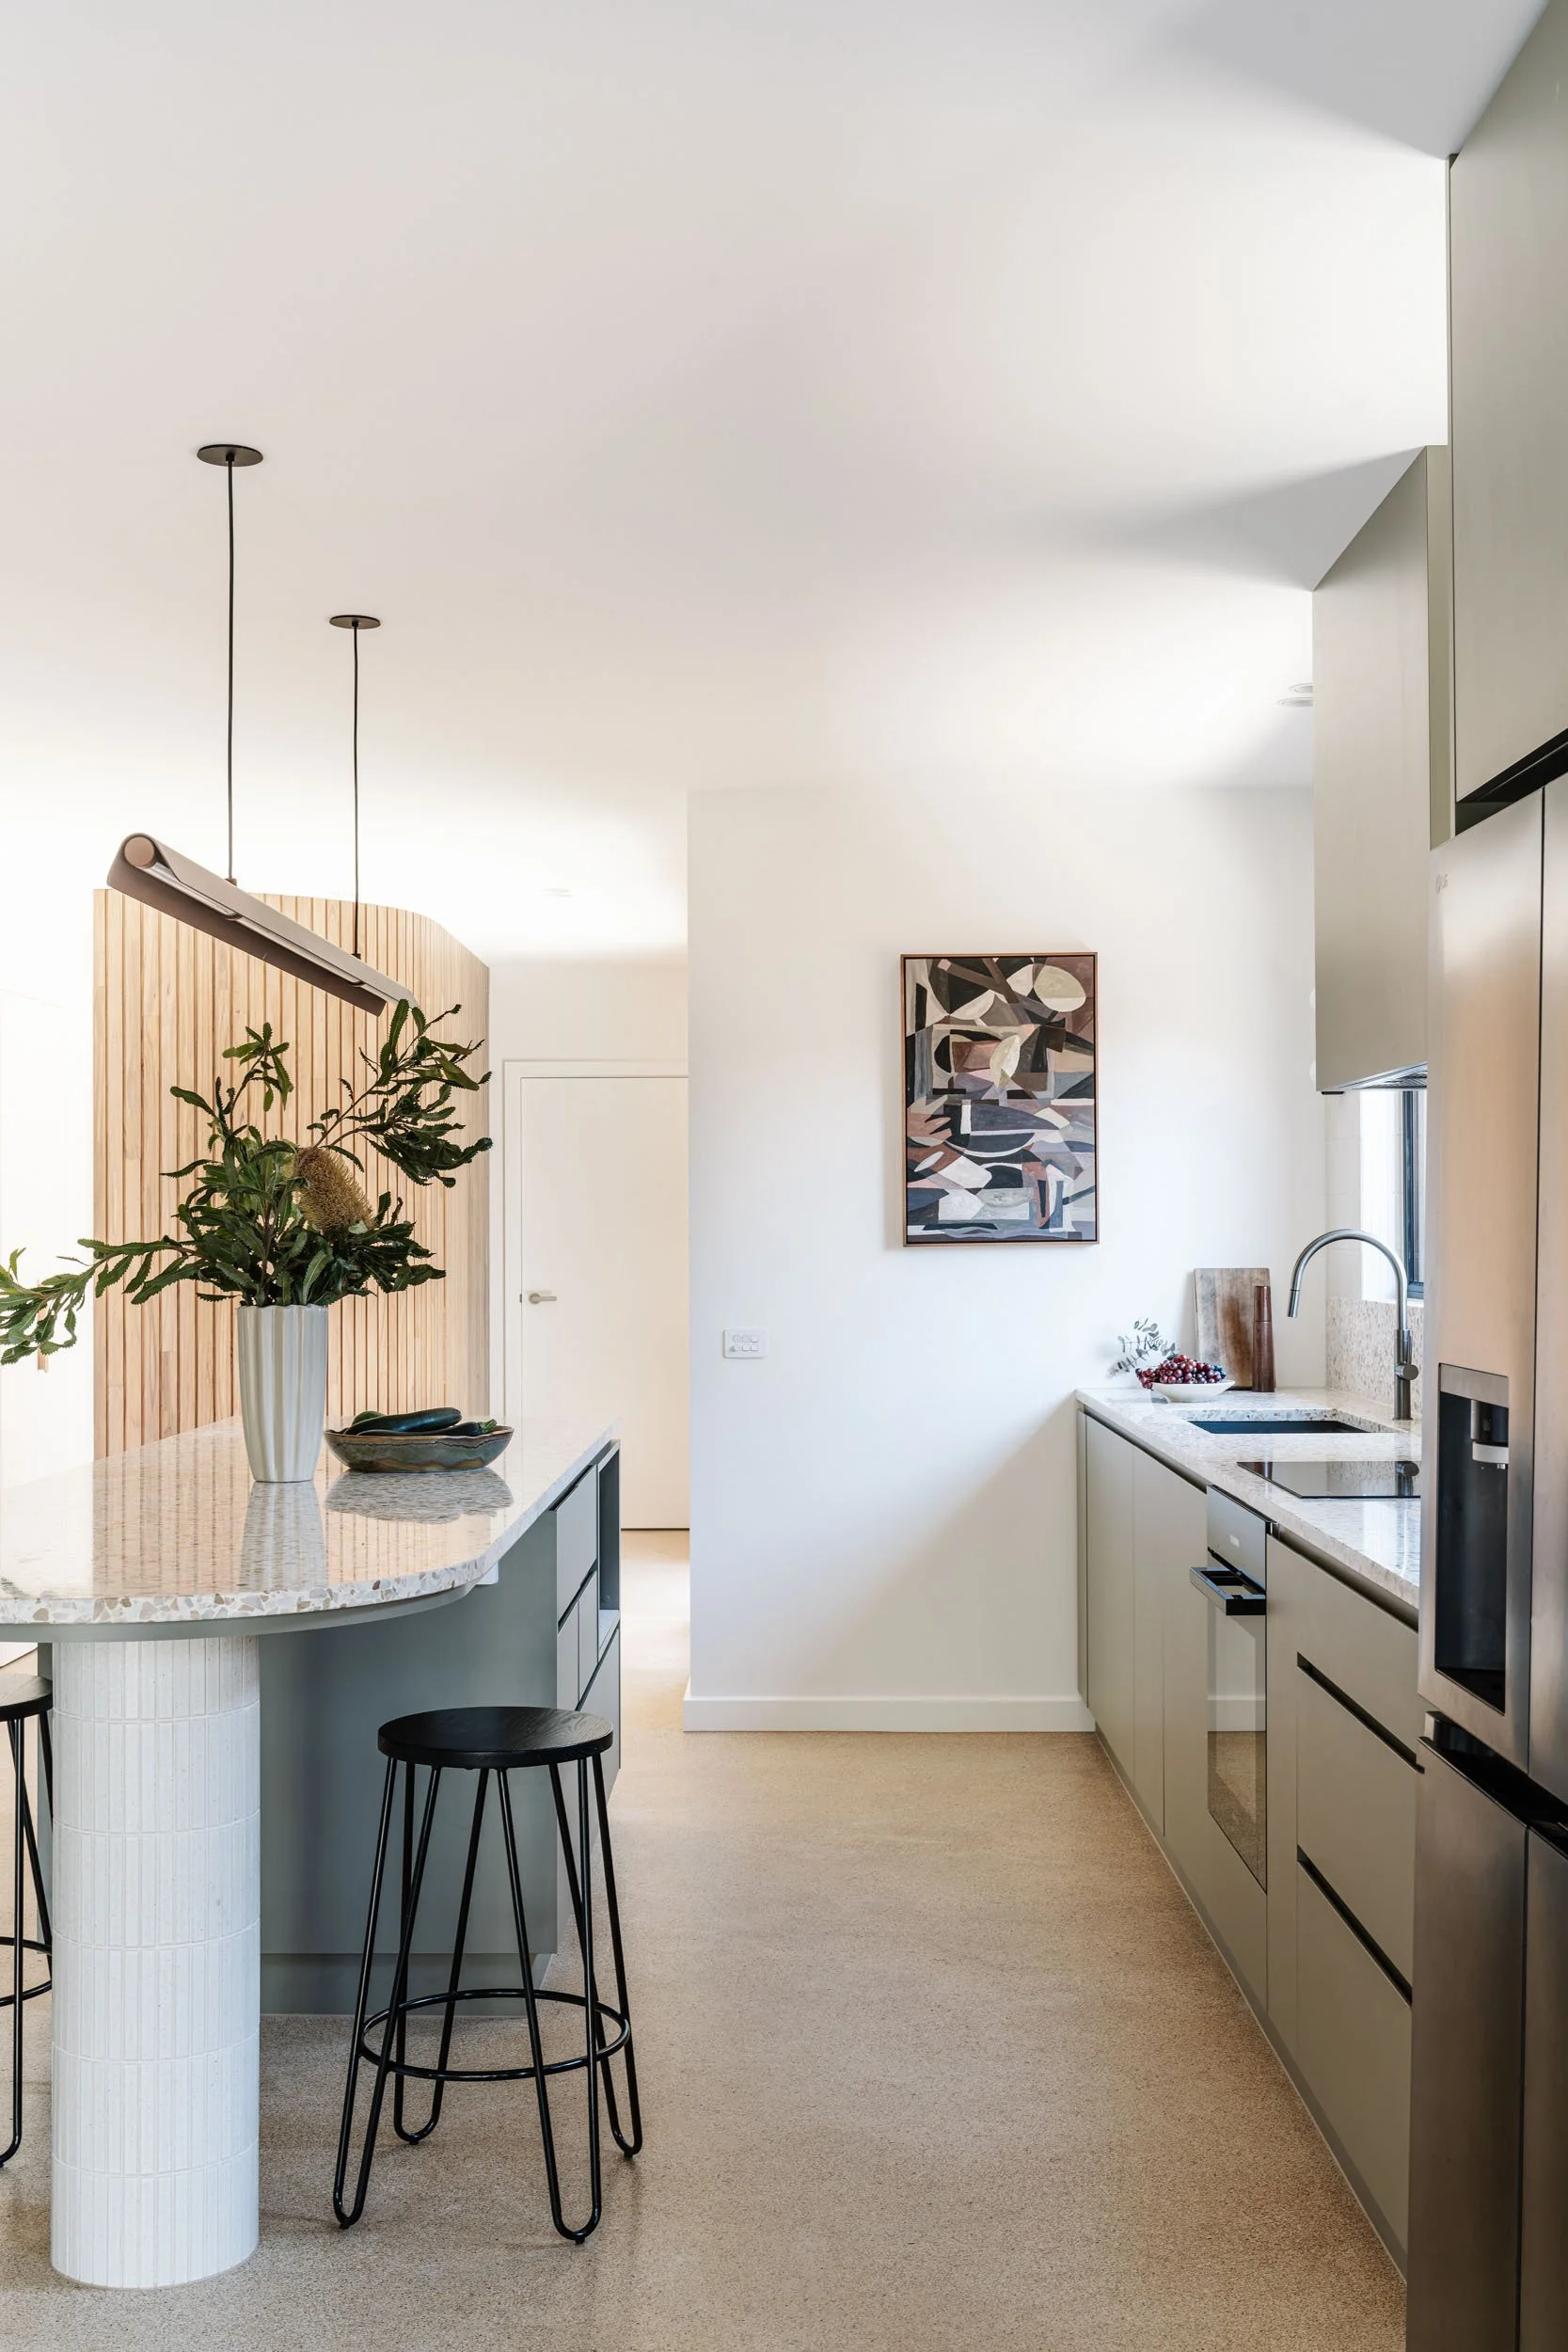
The concrete slab had no insulation underneath, and with 2.7 metre ceilings we didn't want to lose height or create steps at every door by building a new floor on top. The answer was a cork screed from Italy, poured over the existing slab and sanded back like a polished concrete, giving the floor a layer of insulation and doubling as the finished floor.
To our knowledge nobody in Australia had laid it as a finished floor before, and installing it was the most stressful thing I've ever done on a building site. Plenty went wrong before it went right. But the result is a warm, sanded cork floor that looks amazing, and we now know exactly what it takes to do it.
Why the heating number is higher than our new builds
Our certified new builds need around 9 to 15 kWh/m² of heating a year, and this house needs 31.5. That isn't a shortfall, it is the reality of a retrofit. The slab still can't be insulated from underneath, and a double storey house next door to the north blocks a lot of the winter sun, and neither of those can be fixed without knocking things down. That is exactly why EnerPHit exists as the Passive House Institute's standard for existing buildings, and why cutting heating energy by 81% on a 1993 volume built house is such a big deal.
Living in it now
The owners wanted, in their words, "a safe and healthy home" for their kids that would last the long haul. These days the kids are in shorts and t-shirts in the middle of winter, and the hard part is convincing them to put a jacket on before they head outside. The triple glazing has quietened the street noise, and the filtered fresh air keeps out the smells that sometimes drift in from the nearby refineries.
As one of the owners put it, the house has "given me back time to enjoy my home, rather than working on it to keep us comfortable." And when I'm walking the dog past, I still get a wave from the front room.
Before and after
| Before | After | |
|---|---|---|
| Airtightness | Estimated 30 plus ACH50 (too leaky to test) | 0.43 ACH50 |
| Heating demand | 163 kWh/m² per year | 31.5 kWh/m² per year |
| Windows | Single glazed | Triple glazed uPVC, installed Uw 1.25 |
| Fresh air | Whatever leaked in through the walls | Filtered, with 86.8% heat recovery |
| Floor | Bare, uninsulated slab | Insulating cork screed over the slab |
| Energy | No solar | All electric, with 11,531 kWh of solar a year |
The certified numbers
Every figure below comes from the certified PHPP (the Passive House Institute's energy modelling tool), checked by an independent certifier, with airtightness taken from the on site blower door test.
| Measure | Retrofit Rifle | EnerPHit Plus requirement |
|---|---|---|
| Airtightness (ACH50) | 0.43 | 1.0 or less |
| Average U value of walls and roof (W/m²K) | 0.26 | 0.5 or less |
| Windows and doors, installed (Uw) | 1.25 | 1.25 or less |
| Heating demand (kWh/m² per year) | 31.5 | Met through the component method |
| Cooling demand (kWh/m² per year) | 4.9 | |
| Renewable primary energy (kWh/m² per year) | 65 | 65 or less for this home |
| Solar generation (kWh per m² of footprint per year) | 65 | 63 or more for this home |
| Hours above 25°C | 4.7% | 10% or less |
| Hours with excess humidity | 0% | 10% or less |
| Treated floor area | 152.3 m² |
What's in the walls, ceiling and floor
- Walls: the original brick and air gap outside, a 90 mm timber frame with polyester insulation, a Pro Clima Intello airtight membrane, then a 45 mm service cavity with more polyester insulation and plasterboard, U value 0.273 W/m²K
- Ceiling: new insulation and an Intello membrane under the original roof tiles, U value 0.247 W/m²K
- Floor: cork screed over the existing concrete slab, U value 0.980 W/m²K
- Windows: Binq triple glazed uPVC on an Aluplast profile, with an insulated timber front door
- Ventilation: Zehnder ComfoAir Q350, 86.8% effective heat recovery
- Hot water and energy: heat pump hot water with a 315 litre tank, all electric, rooftop solar
What we'd do differently
This was a design and construct project, so there was no separate architect or building designer. We led the design and the build together, working hand in hand with Erin from Hè Hè Design on the interiors and healthy materials and with Cameron on the performance, which meant every design decision was made by the people who would have to build it. It worked, but next time we would bring in a lead designer earlier for the window and exterior detailing. We would also give ourselves more time in the program for windows, because on a retrofit you can't order them until the walls are open and every measurement is final, and they take around twelve weeks to arrive.
The team behind it
Design and construct by Carland Constructions with Hè Hè Design, with interior design and healthy material selection by Erin from Hè Hè Design, Passive House modelling and hygrothermal analysis by Cameron Munro of Passive Analytics, certification by Marcus Strang of HIP V. HYPE, windows by Binq, heat recovery ventilation by Passive Tech, feature timber by Crafted Hardwoods, and the cork floor with Corkspray Australia and Dylan from Alwyn Projects. Most of all, it took owners willing to take a leap into the unknown, and a Carland Constructions crew who owned every detail. The project was a finalist in the Single Dwelling, Alteration and Addition category at the 2025 Sustainability Awards, and has since been featured in Sanctuary magazine's 20th anniversary issue.
If you own an older home and want to know whether it could be brought up to this standard, book a call and we will talk you through what is possible for yours.
Frequently asked questions
What is Retrofit Rifle?
Retrofit Rifle is a 1993 volume built brick veneer home in Williamstown, Melbourne, that Carland Constructions retrofitted to the EnerPHit Plus standard without removing its brickwork or roof tiles, delivered as a design and construct project with Hè Hè Design. It was certified by HIP V. HYPE in December 2024 and, to Carland Constructions' knowledge, is the first volume built home in Australia certified to EnerPHit. It was a finalist in the Single Dwelling, Alteration and Addition category at the 2025 Sustainability Awards.
Can you turn an existing house into a Passive House?
Yes. Retrofit Rifle went from an estimated 30 plus air changes per hour to 0.43, and from 163 to 31.5 kWh/m² of heating a year, while keeping its original bricks and roof tiles. Every existing house is different, so it needs modelling and moisture analysis from the start rather than a copy of someone else's details.
What is EnerPHit and how is it different from Passive House?
EnerPHit is the Passive House Institute's standard for retrofitting existing buildings. It allows for things a retrofit can't change, like an uninsulated slab or a fixed orientation, so it has a looser airtightness limit of 1.0 air changes per hour instead of 0.6, and it can be met by hitting component targets for the walls, roof, windows and ventilation instead of a heating demand limit.
Why does a Passive House retrofit use more heating energy than a new build?
Because some things can't be fixed without demolition. At Retrofit Rifle, the existing slab couldn't be insulated from underneath and a double storey neighbour blocks much of the winter sun, so it needs 31.5 kWh/m² of heating a year compared with around 9 to 15 for Carland Constructions' certified new builds. That is still 81% less than the house used before.
Is it better to retrofit or knock down and rebuild?
It depends on the house, but a retrofit keeps the existing structure, bricks and roof out of landfill, and Retrofit Rifle shows that an ordinary brick veneer home can reach a certified Passive House standard without removing its cladding or roof. Where the structure is sound, a retrofit deserves a serious look before anything is demolished.